Discord Webhook Testing
To test Discord webhooks with Hooklistener:
- Start your local webhook handler:
npm start - Authenticate the CLI:
hooklistener login - Start a tunnel:
hooklistener tunnel --port 3000 - Use your tunnel URL as the Discord Interactions Endpoint or configure outgoing webhooks
- Test bot commands, events, and message delivery locally
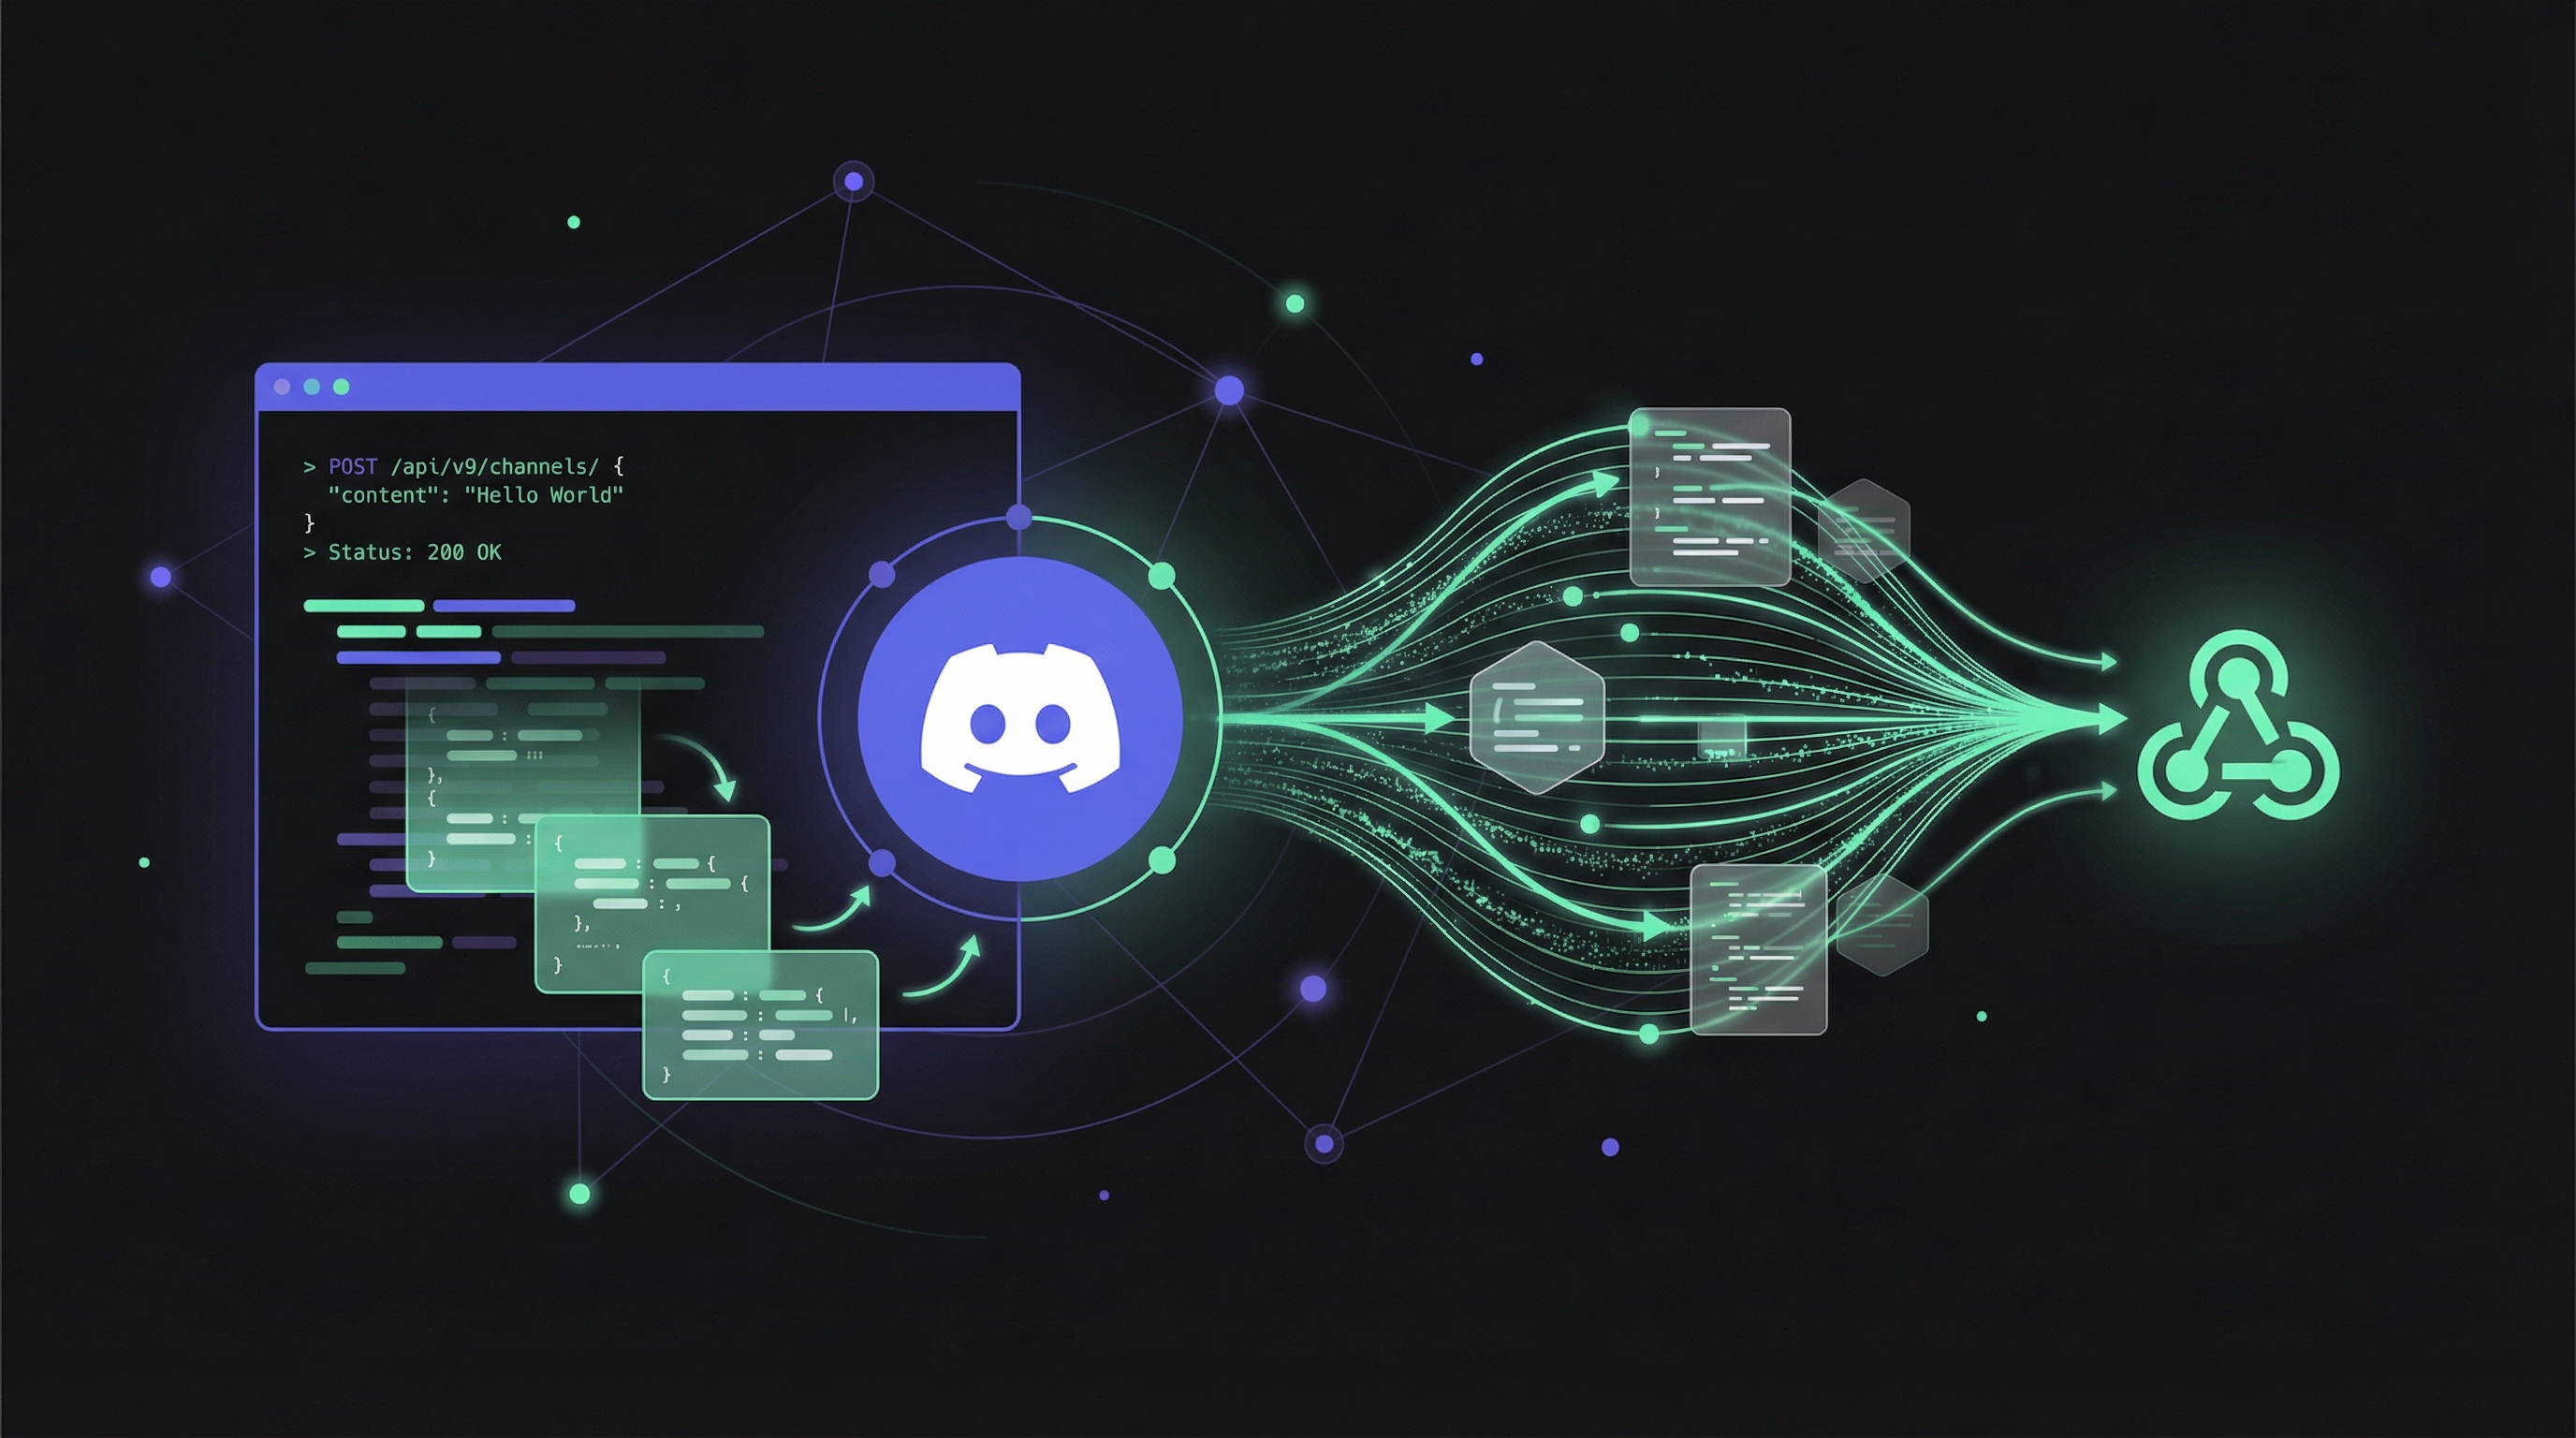
This guide covers how to test Discord webhooks locally using Hooklistener's tunnel. Whether you're building a Discord bot, handling slash commands, or debugging message delivery, you'll learn how to receive Discord events on your local machine.
Understanding Discord webhooks
Discord has two types of webhooks you might work with:
- Incoming Webhooks: URLs you send messages TO (post messages to a channel). These are straightforward—you just POST JSON to Discord's URL.
- Interactions Endpoint (Outgoing): A URL Discord sends events TO (slash commands, button clicks, modals). This requires a publicly accessible HTTPS endpoint—exactly what Hooklistener provides.
This guide focuses on the Interactions Endpoint use case, where you need to receive events from Discord on your local development server.
1. Start your local app
Run your Discord bot or webhook handler locally. Your server needs to:
- Accept POST requests on a route (e.g.,
/interactionsor/webhook) - Respond to Discord's verification challenge (PING request)
- Handle interaction payloads (slash commands, buttons, etc.)
Start your application:
npm startConfirm it's running by visiting http://localhost:3000 (or your configured port).
2. Handle Discord verification
Discord sends a PING request to verify your endpoint before allowing you to save it. Your handler must respond correctly.
Example verification handler (Node.js/Express):
app.post('/interactions', (req, res) => {
  const { type } = req.body;

  // Discord PING verification
  if (type === 1) {
    return res.json({ type: 1 });
  }

  // Handle slash commands (type 2)
  if (type === 2) {
    const { data } = req.body;
    // Your command handling logic here
    return res.json({
      type: 4,
      data: { content: `Received command: ${data.name}` }
    });
  }
});Important:Discord requires Ed25519 signature verification for security. For production apps, always verify the X-Signature-Ed25519 and X-Signature-Timestampheaders using your bot's public key.
3. Log in to Hooklistener CLI
Authenticate the CLI to create tunnels.
hooklistener loginFollow the device-code flow:
- Open the URL shown in the terminal
- Enter the 8-character code to authorize
4. Start a tunnel
Create a public HTTPS URL that forwards to your local server:
hooklistener tunnel --port 3000Copy the public URL (e.g., https://abc123.hook.events).
Path forwarding: Requests preserve paths:
https://abc123.hook.events/interactions→http://localhost:3000/interactions
Info:The tunnel uses a persistent outbound connection, so it works behind NAT and firewalls without port forwarding.
5. Configure Discord Interactions Endpoint
Set up Discord to send events to your tunnel URL:
- Go to the Discord Developer Portal
- Select your application (or create a new one)
- In the left sidebar, click General Information
- Scroll to Interactions Endpoint URL
- Enter your Hooklistener tunnel URL with the path:
https://<your-subdomain>.hook.events/interactions- Click Save Changes
Discord will send a PING request to verify the endpoint. If your handler responds correctly (returning { "type": 1 }), the URL will be saved.
6. Test slash commands
With your endpoint configured, test your bot:
- Invite your bot to a test server (if not already)
- Register a slash command using Discord's API or a library like discord.js
- Run the command in your test server
- Watch the Hooklistener CLI—you'll see the request appear with method, path, status, and duration
Your local handler receives the interaction, processes it, and the response flows back through the tunnel to Discord.
Testing incoming webhooks
If you're testing incoming webhooks (sending messages TO Discord), you don't need a tunnel—you just POST to Discord's webhook URL.
Example using curl:
curl -X POST "https://discord.com/api/webhooks/YOUR_WEBHOOK_ID/YOUR_WEBHOOK_TOKEN" \
  -H "Content-Type: application/json" \
  -d '{"content": "Hello from my local test!"}'
For rich embeds:
curl -X POST "https://discord.com/api/webhooks/YOUR_WEBHOOK_ID/YOUR_WEBHOOK_TOKEN" \
  -H "Content-Type: application/json" \
  -d '{
    "embeds": [{
      "title": "Test Embed",
      "description": "This is a test message with an embed",
      "color": 5814783
    }]
  }'
Debugging tips
Use the Hooklistener CLI's live request log to troubleshoot issues:
- No requests appearing: Check that your Interactions Endpoint URL is saved correctly in Discord's Developer Portal
- 401/403 errors: Your signature verification might be rejecting requests—check your public key configuration
- Timeout errors: Discord expects a response within 3 seconds. For longer operations, acknowledge immediately and use followup messages
- Verification failing: Ensure you're returning
{ "type": 1 }for PING requests (type 1)
Security considerations
Your tunnel URL is publicly accessible, so always verify incoming requests:
- Verify the
X-Signature-Ed25519header using your bot's public key - Check the
X-Signature-Timestampto prevent replay attacks - Never commit your bot token or webhook URLs to version control
Example signature verification (using discord-interactions library):
import { verifyKey } from 'discord-interactions';

const signature = req.headers['x-signature-ed25519'];
const timestamp = req.headers['x-signature-timestamp'];
const body = JSON.stringify(req.body);

const isValid = verifyKey(body, signature, timestamp, PUBLIC_KEY);
if (!isValid) {
  return res.status(401).send('Invalid signature');
}Info:Treat your Hooklistener tunnel URL like a secret during development. While it's temporary, avoid sharing it publicly. For production, deploy your bot to a proper hosting environment.
Next steps
Now that you can receive Discord webhooks locally:
- Build and test slash commands without deploying
- Debug button and modal interactions in real-time
- Test message components and select menus
- Iterate quickly on your Discord bot's response handling